Sunday, May 29, 2011

"B" holder

I have gone through so many ways to hold my girls' headbands and I finally came up with one I LOVE! 

Materials Needed:
4. 1x12x6ft board
6. Small sponge brush
8.Saw toothed hanger.
9. Exacto knife
10. Scrapbook paper of choice
11. Hooks.


I started with a 1x12x6 
cut (2) 19" pieces for another project {to come this week}
and this is the remaining piece.
I took her outside {it was finally nice weather} and spray painted the edges in Rustoleum Heirloom White
and let dry.
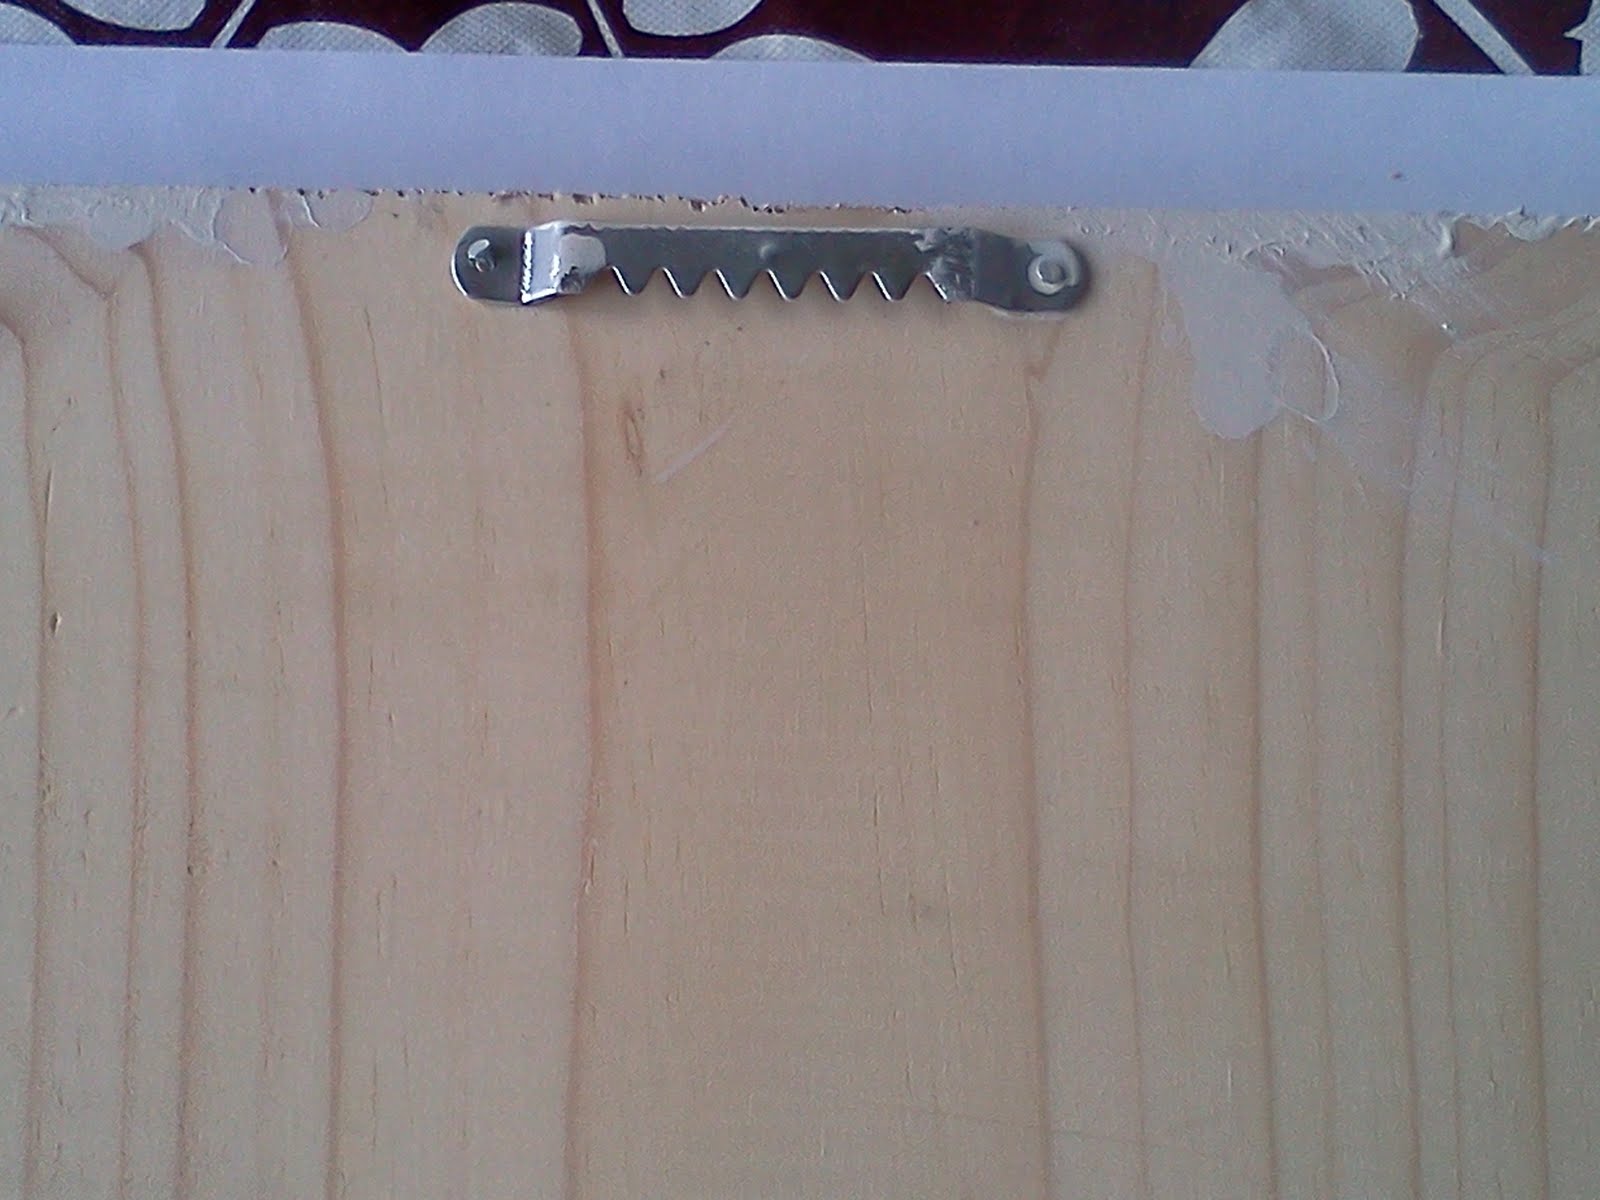
Next, I nailed in a saw tooth hanger to the back. 
Measured to the middle and leveled.

2. I took my piece of scrapbook paper 
sprayed it with 3m adhesive 
smoothed it out on to the wood 
and let dry.
While that was drying I went to my handy dandy Silhouette and cut out a large B.
Used the spray adhesive to glue into place.
After it dried I used Modge Podge to seal the entire board.
I used my Stampin' Up ink pad to distress the edges.
Here is another corner.
Oh yeah, I added a hook to the corner and will be on the hunt for a few more to add across the bottom
and some darling little knobs for higher up for bracelets and necklaces.
And on the wall!
{please pay no attention to the unfinished wall! Trim is going up shortly Which I will post about of couse}

Thursday, May 26, 2011

My weight loss story

I began this weight loss/life style change after lil' B was born in November. 
With the birth of each of my kiddos I kept a little something extra. 
big bro P...10lbs.
Big girl B...20lbs
to make matters worse I gain like 40-60 lbs with my pregnancies. :( 
sad day, but what do you do? 
By week 30 with lil' B I was having regular contractions and put on modified bed rest. 
and by week 32 was in the hospital on Magnesium (thank heavens I didn't get super sick like the nurses predicted) and given 2 steroid shots to help lil' B's lungs toughen up. With full bed rest! 
Thank heavens for a career that allows the hubs to stay home for the next 3 weeks to take care of the little rascals. 
35 weeks...the lil' B makes her way into the world...QUICKLY! 
(that's a story for another day)
Back to my journey...
January 2011 rolls around and the Doc gives me the go ahead. 
Wahoo!!!
The day lil' B was born I tipped the scales at 195lbs!!
Holy Moly! 
At 5'2" that isn't the most desirable weight. 
So it began! 
The Hubs and I got P90X for Christmas and I went to work!

Which I loved!
I t made me work hard, push myself and I saw results quickly!
But, I hated doing it by myself!
I kept at it, not very well, but kept moving forward!

Then in February a friend of mine invited me to Zumba
and I was hooked!
THANKS friend, I owe ya big time! 

I am not a dancer
AT ALL!
I got over myself and went to work! 
 I was moving, it made me feel good and best of all
it made me SWEAT!
When I was younger I didn't sweat much.
My college softball coach would yell that we were going to keep conditioning until I sweat
and it didn't work out so well.

Not quite sure what it is about sweating that makes me feel amazing when I workout!
Maybe its knowing how hard I am working, or my endorphins that have kicked in that give me the RUSH!

Since February I have lost 30 pounds and 20 inches!
I can see my collarbone!!! {Love}
and I have more energy than I have had in a long time!

I also have a few other tools in my belt I will be talking about shortly.

baby subway art

This was my first attempt at Subway Art on my Silhouette!
It was a project
it took time and patience
trial and error
In the end, I am quite happy!
I had SO much fun playing with the different fonts on my computer.


HookingupwithHoH

Wednesday, May 25, 2011

felt rose balls Part Uno

Hilary over at Spending Less Living More was my inspiration behind these cuties. 
She has a super simple, easy to follow tutorial with pictures and all! 

I used Styrofoam balls my MIL gave me. 
I didn't realize how crazy expensive these babies are,
for an awesome alternative
use Hilary's gossip mag creations. 
Super simple and cheap! 

These hang over little B's bed and More are in the making! 
Ciao!

Monday, May 23, 2011

New Life...

Why? Do you ask? Did I change my blog. 
Well short answer...
I got bored and need a change. 
Long answer...
I want to start over with where I am taking my blog. 
My blog is evolving and I want to take it in a slightly newer direction. 
So, I started a new one, added a FB fan page and will be adding Twitter shortly. 
I don't in any way claim to be an amazing blogger with all the secrets to life. 
I just want a space to show off things I come across in blogland or anywhere else. 
Track my weight loss journey. {have plans to turn it into a Wednesday Party} Stay tuned! 
Blog about parenting challenges and the resolutions that seem to work for me and my family. 

Be patient as I learn all the new tricks of the trade and as we are under construction.
Start with Grabbing my new button and check back often for fun and exciting things!

Ciao!


Thursday, May 19, 2011

Felt flowers...how do you wear them?

We had extended family pictures this last weekend. 
Was I ready: NOPE! 
I was especially stumped on flowers and headbands for my girls. 
I was just tired of the same old bows and flowers they wear. 
So I started searching around blogland for new ideas...
we all know it didn't  disappoint! 
Jamielyn over at I {heart} naptime always has amazing ideas!
And I totally fell in love with her felt flowers
OR 
maybe her darling little girl! 
Follow her super easy, pictures and all tutorial to get some for your darling little girls!


We were all wearing bright colors and I thought her shirt was just too boring! 
So, I grabbed some snaps and attached them to the shirt and the back of each flower. 


I love how it turned out! and super inexpensive too! 
I might be doing overkill, but I just love these! 
I attached them to the elastic headbands for adults. 
I usually wear them when I workout or am out in the yard to keep my hair out of my face. 
They fit her head perfect and the non slide sticky stuff on the inside keeps it in place.

p.s. totally noticed the water spots on B's shirt after I posted the pic's. haha

How would you wear them? Let me know what creative way you come up with to wear these darling flowers! 

burp cloths

During my sewing excursion a while ago decided to "fix" up these cloth diapers by adding some darling fabric I found at JoAnn's on the remnant shelves. I got just shy of two yards (one of each) for less than 5 bucks!!

I even had enough of the brown, green, aqua and mustard fabric to make one of my girls a skirt!